How to Easily Scan Your Art Using Mobile Apps
You don't need a flatbed scanner to get a clean digital copy of a drawing or painting. A phone, decent light and a scanning app will do. Here's how we'd go about it, from setting up the piece to sharing the finished file.
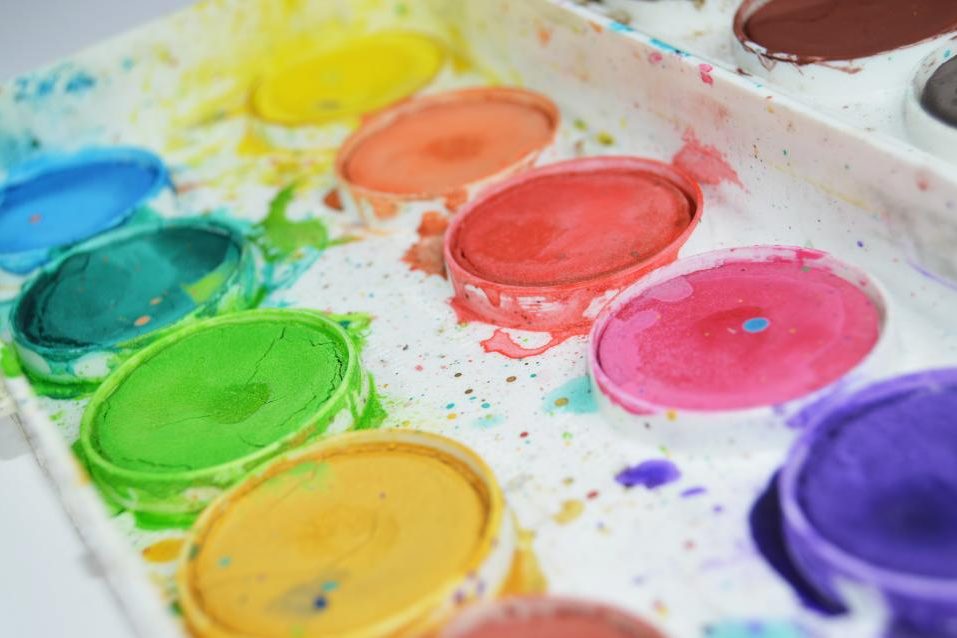
Select the best scanning app for artists
There are plenty of scanning apps, and most are built for receipts and contracts. For artwork you want one that crops cleanly and lets you correct color without much fuss. We're obviously biased, but that's what we built Easy Scanner to do.
Easy Scanner scans at high resolution, so fine lines and paper texture survive. The cropping and color correction tools are simple to use, and the clean, uncluttered interface means you spend your time on the art rather than on settings.
It works for a sketchbook page you want to post tonight and for a finished piece going into a portfolio. You can sign in on Android or iOS.
Prepare your artwork
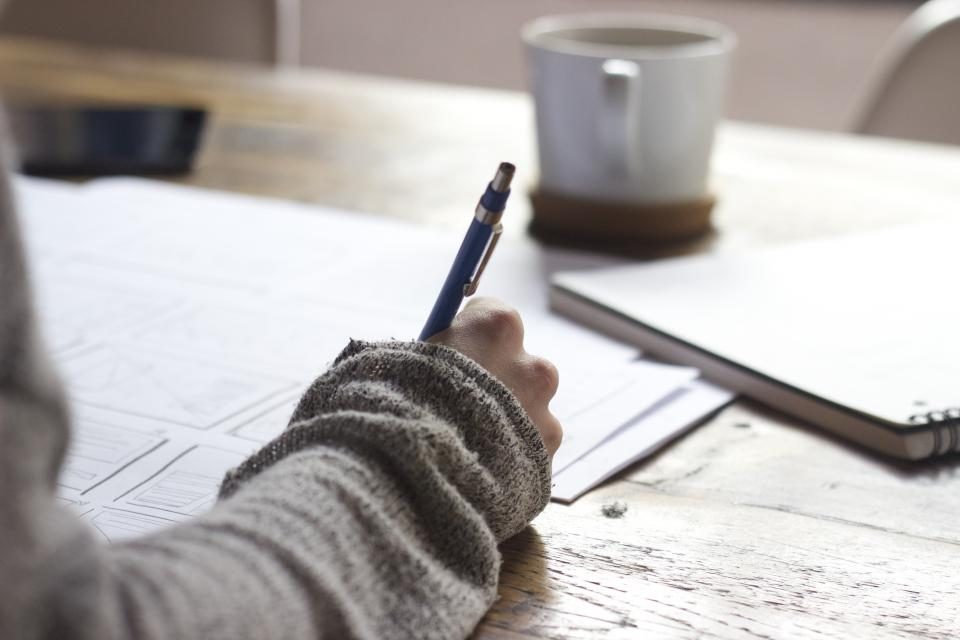
Light matters more than anything else. Daylight from a window is usually best because it's even and doesn't throw hard shadows or glare. Set up near a window during the day if you can.
At night, use soft, diffused lamps rather than one bright overhead bulb. Lay the piece flat on a table or desk and clear everything else off it.
A plain background in a contrasting color helps the app find the edges of the paper. Move anything shiny out of the area too, since a glass of water or a phone screen nearby can bounce light onto the piece.
Ten minutes of setup here saves a lot of fiddling in editing later.
Carefully scan your artwork
Hold the phone directly above the artwork with the camera parallel to the surface. If the phone tilts, the edges of the piece come out stretched or skewed.
Check that the whole piece is inside the frame before you tap. Cropping later is easy. Recovering a corner you cut off is not.
Glossy paint and varnish are the usual trouble. If you see a bright spot, shift your angle a little or move the light. Often a small step to one side is all it takes.
In Easy Scanner, turn on the grid overlay to line the piece up straight.
Take a few shots and compare them before you pick one. The difference between two scans of the same painting can be bigger than you'd expect.
Edit scanned images for quality
Once you have a scan you like, open it in Easy Scanner's editor. Crop off the table edges first so only the art is left.
Raise the brightness if dark areas lost detail, and adjust the colors until they match the original sitting next to you. If the scan came out crooked, rotate it.
The color modes are worth a look too. Black and white, photocopy and BW2 gray each give a different result, and gray in particular can work nicely for pencil and ink drawings.
You can lighten the image for a softer look. And if you're scanning a series, add pages to the same file so a whole sketchbook ends up together.
Go easy on color changes. Compare the screen with the original under the same light before you call it done.
Organize and share your digital art
Easy Scanner lets you keep your scans in folders, so you can sort them by medium, year or project. That pays off the first time a gallery asks for "everything from 2023".
Sharing works from the same place. Send pieces to Instagram, Threads or Facebook, or to friends by email or Bluetooth. You can export as a PDF or as images, depending on who's on the other end.
Exports come in letter, A4, A3 or A2, which helps when you're sending files off to be printed.
One last tip
Scan new work as soon as it's finished, before it gets framed, stacked or sold. Getting a good scan of a piece behind glass is a lot harder.
Keep a folder per year in Easy Scanner and drop each new scan in as you go. By the time you need a portfolio, a print run or a submission, the files are already there.